In a world increasingly rooted in mindful eating and sustainable living, the humble pantry is blossoming into a treasure trove of plant-powered possibilities. Among these gems, nut milks stand out as creamy, comforting elixirs-nutty nectars-that can transform your everyday recipes from mundane to magical. Whether you’re a seasoned vegan, a curious cook, or simply someone seeking a fresher, healthier alternative to dairy, crafting your own plant milk at home is both an art and a delight. Welcome to “Nutty Nectar: Crafting Your Own Pantry Plant Milk Basics,” where we’ll dive into the simple, satisfying techniques to turn ordinary nuts and seeds into luscious, homemade milks that nourish your body and please your palate. Prepare to unlock a world of flavors and textures, all from the cozy convenience of your own kitchen pantry.
Nutty Nectar: Crafting Your Own Pantry Plant Milk Basics
Nutty Nectar opens the door to a world of rich, creamy, and wholesome plant-based milks, handcrafted from nature’s own nutritional powerhouses-nuts and seeds. This delightful homemade elixir not only elevates your culinary repertoire but also transforms simple sips into a nourishing experience that’s tailor-made to your taste and dietary needs. Discover how selecting the perfect ingredients and mastering a few simple techniques can yield luscious, naturally flavored milk that’s both velvety and vibrant.
Prep and Cook Time
Preparation: 10 minutes | Soaking: 6-12 hours | Blending & Straining: 10 minutes
Yield
Approximately 4 cups (1 quart) of freshly made nut milk
Difficulty Level
Easy – perfect for beginners and seasoned home chefs alike
Ingredients
- 1 cup raw nuts or seeds (almonds, cashews, hazelnuts, sunflower seeds, or a blend)
- 4 cups filtered water (plus extra for soaking)
- 1 tablespoon natural sweetener (maple syrup, honey, or dates, optional)
- 1 teaspoon pure vanilla extract (optional, for subtle flavor)
- Pinch of sea salt (balances sweetness and enhances creaminess)
Instructions
- Soak the nuts or seeds: Place your chosen nuts or seeds in a bowl and cover with filtered water. Let them soak for 6 to 12 hours to soften and activate their natural enzymes, which makes blending easier and improves digestibility.
- Drain and rinse: After soaking, drain the water and rinse the nuts/seeds thoroughly under cool running water to remove any residual phytic acid and bitterness.
- Blend for creaminess: Transfer the soaked nuts/seeds to a high-speed blender. Add 4 cups of fresh filtered water and blend on high for 1 to 2 minutes until completely smooth and creamy. The blend will transform into a luscious, pale nectar.
- Strain the milk: Line a fine-mesh nut milk bag or cheesecloth over a large mixing bowl. Pour the blended mixture through the cloth, gently squeezing to extract every drop of creamy goodness without forcing pulp through.
- Flavor your milk: Return the strained milk to the blender. Add natural sweetener, vanilla extract, and a pinch of sea salt. Blend briefly to combine perfectly smooth flavors.
- Chill and enjoy: Pour your homemade nut milk into a clean glass bottle or jar. Seal and refrigerate for up to 4-5 days. Shake well before each use as natural separation may occur.
Tips for Success with Nutty Nectar
- Choosing nuts and seeds: For the creamiest texture, opt for cashews or macadamia nuts-no straining required when blended thoroughly. Almonds and hazelnuts offer a more traditional, slightly textured mouthfeel.
- Flavor variations: Infuse your milk with cinnamon, cardamom, or cocoa powder for warm, rich notes. Experiment with soaking nuts in a splash of coconut water to enhance natural sweetness.
- Maximizing shelf life: Always store your Nutty Nectar in an airtight container in the coldest part of your fridge. Avoid leaving it out to keep freshness and prevent spoilage.
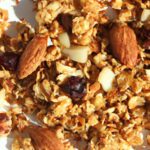
- Pulp reuse: Don’t toss the leftover nut pulp-dry it in a low oven and blend into flour for baking, or mix into smoothies and oatmeal for extra fiber and nutrition.
Serving Suggestions
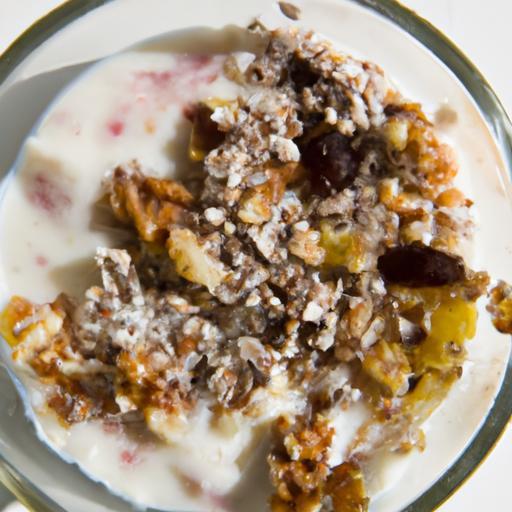
Enjoy this nutrient-dense Nutty Nectar as a luxurious splash in morning coffee or tea, a creamy canvas for smoothie bowls, or a luscious base for homemade vegan ice cream. Garnish a glass with a sprinkle of cinnamon or toasted nuts for visual appeal and an inviting aroma. For a cozy touch, warm gently on the stove with a dash of turmeric or ginger, stirring until fragrant. The versatility of this homemade milk allows it to delight your palate and enliven your favorite recipes.
| Nutrient | Per Cup (8 oz) |
|---|---|
| Calories | 70-120 |
| Protein | 2-4 g |
| Carbohydrates | 3-5 g |
| Fat | 5-10 g |

For more inspiring plant-based recipes, explore our article Vegan Breakfast Ideas That Energize Your Morning. To dive deeper into the benefits of nut milks, check out this insightful Healthline article on nut milk nutrition.
Q&A
Q&A: Nutty Nectar – Crafting Your Own Pantry Plant Milk Basics
Q1: What exactly is “Nutty Nectar”?
A1: Nutty Nectar is a whimsical name for homemade plant-based milk crafted from nuts, seeds, or grains straight from your pantry. It’s the creamy, nourishing drink you create when you blend plant ingredients with water-no store-bought cartons needed!
Q2: Why make your own plant milk instead of buying it?
A2: Making your own plant milk is not just a budget-friendly indulgence-it’s a personal touch of creativity and health. You control the ingredients, avoid preservatives or additives, customize sweetness or flavor, and reduce packaging waste. Plus, there’s a certain magic in turning humble pantry staples into a luscious, velvety beverage.
Q3: What pantry staples work best for making plant milk?
A3: The pantry is a treasure trove! Almonds, cashews, oats, rice, sunflower seeds, and even quinoa can be transformed into silk-smooth milks. Each brings its own nutty or creamy personality: oats offer cozy heartiness, cashews deliver rich decadence, while rice promises subtle sweetness.
Q4: What’s the basic process for making your Nutty Nectar?
A4: It’s beautifully simple:
- Soak your chosen nut, seed, or grain in water (usually 4-8 hours or overnight).
- Drain and rinse them.
- Blend with fresh water-typically 1 part nut to 3-4 parts water-for about 1-2 minutes.
- Strain through a nut milk bag or fine mesh for a silky smooth finish.
- Optional: Sweeten with dates, vanilla, or a pinch of salt for character.
Q5: How long will homemade plant milk last?
A5: Freshly made Nutty Nectar generally stays lovely for 3-5 days when kept refrigerated in a sealed container. Shake well before each use, as natural separation is part of its charm.
Q6: Can I use the leftover pulp from straining?
A6: Absolutely! Wasted pulp? No way. Repurpose it into smoothies, baked goods, granola bars, or even nourishing face masks. It’s the perfect way to stretch your ingredients and curb waste.
Q7: Is homemade plant milk nutritious?
A7: Homemade plant milk offers wholesome goodness without the fortification sometimes found in commercial versions. While lower in calcium, it’s rich in natural fiber, vitamins, and minerals from nuts or grains. For added calcium and nutrients, consider enriching your batch yourself with a splash of fortified plant milk or supplements.
Q8: How versatile is Nutty Nectar in recipes?
A8: Incredibly versatile! Use Nutty Nectar in coffees, smoothies, baked treats, creamy soups, or even savory sauces. Each base brings subtle flavor nuances that can elevate everything from breakfast cereals to gourmet dishes.
Q9: Any tips for perfecting your plant milk?
A9: Experiment with soaking times, nut-to-water ratios, and flavor additions until you find your signature blend. Always use filtered water for the cleanest taste. And don’t rush-letting ingredients soak properly unlocks smoothness and digestibility.
Q10: What makes homemade plant milk a little bit magical?
A10: It’s the alchemy of turning simple, often overlooked ingredients into a silky elixir right in your kitchen. Every batch is a fresh canvas, a creative ritual, and a nod to sustainable living-all bottled up in your very own Nutty Nectar.
To Wrap It Up
As the final drops of your homemade nutty nectar settle into the last jar, you’ll find that crafting your own pantry plant milk is more than just a culinary venture-it’s a small act of creativity, sustainability, and self-care. With simple ingredients and a touch of patience, you’ve unlocked a world where flavors dance freely, and nutrition flows naturally from your kitchen countertop. Whether drizzled over morning oats, blended into smoothies, or savored by the glass, your personalized plant milk is a testament to the magic that happens when tradition meets innovation. So go ahead, experiment, savor, and share-because the basics you’ve mastered today are just the beginning of a deliciously nutty journey.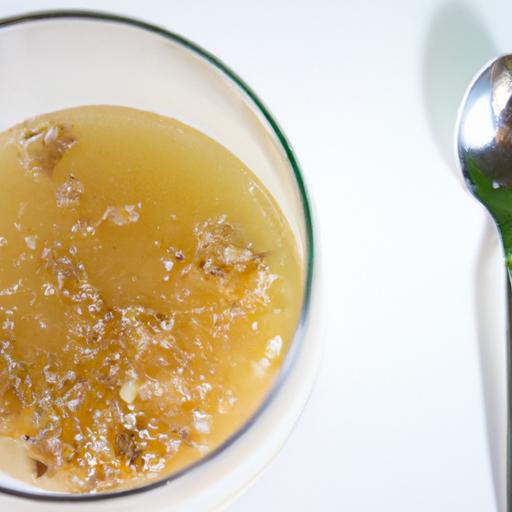


