In the evolving landscape of conscious eating, the humble loaf of bread has taken on a transformative role-especially when it’s both gluten-free and vegan. But crafting a bread that rises with the perfect structure, boasts a delightful crumb, and satisfies that comforting chewiness is no small feat. Welcome to the art and science of building body in gluten-free vegan breads, where each ingredient plays a starring role, and every technique unlocks a secret to texture and taste. This article dives into the essential principles and insider tips that will elevate your baking, turning simple blends into beautifully structured, nourishing loaves. Whether you’re a seasoned baker or an adventurous home cook, get ready to discover the secrets behind breads that don’t just fill but fulfill.
Building Body: Secrets to Structured Gluten-Free Vegan Breads unlocks the transformative magic of creating luscious, well-structured breads without gluten or animal products. Mastering this art invites you to harness the beauty of natural, nutrient-dense ingredients, crafting loaves that boast both tender crumb and satisfying chew. Imagine sinking your teeth into a warm slice, lightly crisp on the outside yet irresistibly moist and tender inside-this journey begins with the perfect synergy of binding agents, ancient grains, and fermentation mastery.
Prep and Cook Time
- Preparation: 30 minutes
- Fermentation/Proofing: 3 hours
- Baking: 40 minutes
- Total Time: 4 hours 10 minutes
Yield
- One 9-inch loaf (approx. 12 servings)
Difficulty Level
- Medium
Ingredients
- 1 1/2 cups sorghum flour – finely milled for delicate structure
- 1 cup brown rice flour – for lightness and neutral flavor
- 1/2 cup millet flour – adds nuttiness and moisture retention
- 3/4 cup tapioca starch – essential for elasticity and chew
- 2 tablespoons ground flaxseed mixed with 6 tablespoons warm water (flax egg)
- 1 tablespoon psyllium husk powder – powerful binder for crumb cohesion
- 1 teaspoon instant yeast – for lift and airy crumb
- 1 teaspoon sea salt – balances flavor
- 1 tablespoon maple syrup – natural sweetener to feed yeast
- 1 1/4 cups warm water (110°F/43°C)
- 2 tablespoons olive oil – enriches crumb and tenderness
- Optional: 1/4 cup cooked quinoa – boosts protein and texture complexity
Instructions
- Prepare your flax egg by mixing ground flaxseed with warm water. Set aside to gel for 10 minutes.
- In a large bowl, whisk together the sorghum, brown rice, millet flours, tapioca starch, psyllium husk, salt, and instant yeast. This dry blend forms the backbone of your bread crumb.
- Add the flax egg, maple syrup, olive oil, and warm water to the dry ingredients. Stir vigorously with a wooden spoon or a stand mixer fitted with a paddle attachment until a thick, sticky dough forms. It should be slightly wet but hold together.
- Fold in cooked quinoa if using, for added texture and nutrition.
- Transfer the dough to a lightly oiled 9-inch loaf pan. Smooth the top gently with a wet spatula to prevent sticking.
- Cover the pan with a damp towel or plastic wrap and let it ferment in a warm, draft-free spot for 2-3 hours, until noticeably risen and airy. Optimal fermentation is key for an open crumb and flavorful crust.
- Preheat your oven to 375°F (190°C). Place a small oven-safe dish with water on the rack below the loaf to create steam-this enhances crust crispness.
- Bake the bread uncovered for 40-45 minutes, rotating halfway through. The crust should be golden brown, and an inserted toothpick comes out clean.
- Cool the loaf completely on a wire rack before slicing. Cooling sets the crumb and prevents gumminess.
Chef’s Notes and Tips for Success
- Psyllium husk powder is a non-negotiable gluten-free binder here; it imparts elasticity similar to gluten’s stretch. Avoid substituting with ground flaxseed alone for structure.
- For a tangier flavor, incorporate a tablespoon of apple cider vinegar into the wet ingredients. This enhances fermentation and improves shelf life.
- If your kitchen is cool, extend proofing time or use a proofing box to ensure adequate yeast activation.
- Swap millet flour with teff for a richer, earthy note, or incorporate amaranth for additional protein and moisture.
- Experiment with fermented starter cultures like sourdough to deepen flavor complexity and further improve crumb texture.
- Make ahead: This bread freezes beautifully sliced. Toast slices directly from frozen for best results.
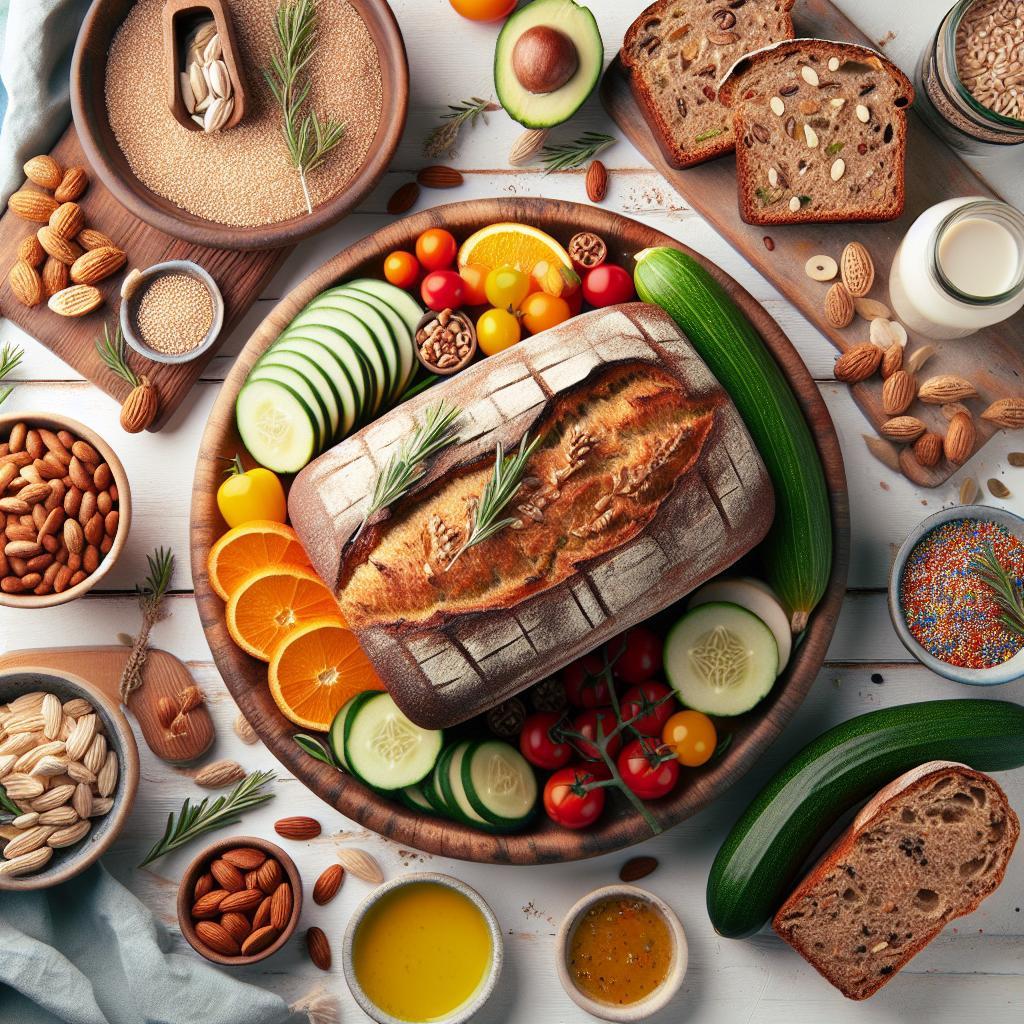
Serving Suggestions
Serve your beautifully structured, gluten-free vegan bread warm with a pat of creamy avocado or your favorite nut butter. For a rustic touch, drizzle extra virgin olive oil and sprinkle fresh herbs such as rosemary or thyme. This bread also pairs wonderfully with vibrant spreads like roasted red pepper hummus or a hearty mushroom pâté. For visual drama, garnish slices with toasted sesame seeds or a dusting of nutritional yeast for a savory finish.
| Nutrient | Per Slice (1/12 loaf) |
|---|---|
| Calories | 120 kcal |
| Protein | 3.5g |
| Carbohydrates | 24g |
| Fat | 2g |
Learn more about gluten-free living from the Celiac Disease Foundation.
Explore our Vegan Gluten-Free Breakfast Ideas to complement your bread perfectly.

Q&A
Q&A: Unlocking the Secrets to Structured Gluten-Free Vegan Breads
Q1: Why is building body such a challenge in gluten-free vegan breads?
A: Traditional bread relies heavily on gluten and eggs to create structure, elasticity, and moisture retention. Gluten acts like a mesh that traps air bubbles, giving bread its characteristic chew and rise. Without gluten and animal products, breads tend to be denser, crumbly, or overly moist. The challenge lies in mimicking this delicate architecture with plant-based, gluten-free ingredients that don’t naturally bind or stretch.
Q2: What are the key ingredients responsible for structure in gluten-free vegan bread?
A: Instead of gluten and eggs, the body’s backbone often comes from a combination of alternative flours, starches, and powerful binders. Ingredients like tapioca starch, chickpea flour, and psyllium husk help create elasticity and moisture retention. Aquafaba (the liquid from chickpeas) and flax or chia seed gels provide binding and moisture. These components work synergistically to build a resilient crumb.
Q3: How do different flours affect the texture and rise of gluten-free vegan breads?
A: Flours vary in protein and starch content, dramatically influencing the bread’s final feel. Nut flours add richness but can make the bread dense. Grain-based gluten-free flours like sorghum or millet lend structure and mild flavor. Starches such as potato or cornstarch lighten the crumb while enhancing tenderness. Balancing these flours is an art that shapes the body of the loaf.
Q4: What role do binders like psyllium husk or flaxseed gels play?
A: Binders are the unsung heroes, replicating some of the stretch and cohesion that gluten provides. Psyllium husk forms a gel that holds moisture and traps gas bubbles during proofing, improving volume and chewiness. Flax and chia gels add sticky, mucilaginous qualities that bind ingredients together, prevent crumbling, and contribute to moisture. Using them wisely can make or break your loaf.
Q5: Are there any foolproof techniques for kneading or mixing gluten-free vegan dough?
A: Unlike traditional doughs, gluten-free vegan doughs behave more like thick batter than elastic dough, so gentle mixing is key. Overmixing can damage the delicate starch network. Folding techniques instead of vigorous kneading help incorporate air and maintain structure. Resting the batter for 20-30 minutes before baking also allows binders and flours to hydrate fully-an essential step for maximum body.
Q6: How important is fermentation and proofing in gluten-free vegan bread baking?
A: Fermentation is crucial but behaves differently without gluten. Yeast still produces carbon dioxide, but the dough’s inability to stretch means rising is slower and less dramatic. Longer fermentation times at moderate temperatures develop flavor and improve crumb texture but require a sturdy batter to hold bubbles. Techniques like adding vinegar or lemon juice can enhance yeast performance and dough stability.
Q7: Can layering or shaping techniques improve the structure and crumb of gluten-free vegan breads?
A: Yes! Shaping dough into tighter loaves or layering batters in pans can create subtle layers of texture and improved gas retention. Using loaf pans with higher sides supports rising, preventing collapse. Even creative techniques like folding in fillings or seeds introduce architecture that strengthens the crumb’s integrity.
Q8: What’s the secret to achieving a crust that complements the unique crumb of gluten-free vegan bread?
A: A well-developed crust adds both flavor and structure contrast. Spraying or brushing water on the bread before baking encourages a crisp crust. Baking at higher temperatures for a short time, then lowering the heat, locks in moisture inside while caramelizing sugars on the surface. Adding ingredients like nutritional yeast or seeds on the crust can enhance flavor and create visual appeal.
Q9: How can I troubleshoot common issues like crumbly texture or dense loaves?
A: Crumbliness often signals insufficient binding; try increasing psyllium husk or flax gel. Dense loaves usually mean not enough leavening or too much heavy flour – balance with lighter starches and don’t skip the resting period. Also, check ingredient freshness and hydration levels. Baking times vary-underbaking retains moisture but lacks structure, overbaking dries it out.
Q10: What mindset should bakers adopt when venturing into gluten-free vegan bread baking?
A: Patience and experimentation are key. Unlike traditional bread, gluten-free vegan baking invites creativity as you tailor ingredients and techniques to your taste and texture goals. Embrace surprises, adjust recipes thoughtfully, and celebrate incremental successes. Ultimately, building body in these breads is about honoring both science and art for truly nourishing results.
Building body in gluten-free vegan breads may seem like a puzzle-but with the right ingredients and techniques, you can craft loaves that rise, hold shape, and delight with every slice. Harness these secrets and your kitchen will be a gateway to bread that’s as nutritious as it is scrumptious.
To Conclude
As you embark on your journey to master the art of building body in gluten-free vegan breads, remember that every crumb holds a story of resilience and innovation. The secrets lie not just in ingredients, but in the delicate dance of technique and patience. With these insights tucked beneath your apron, your oven will become a laboratory of delicious possibilities, transforming humble mixtures into structured masterpieces. So, bake boldly, experiment freely, and savor the satisfying texture of breads that stand tall-proof that thriving without gluten or animal products is not just possible, but truly extraordinary.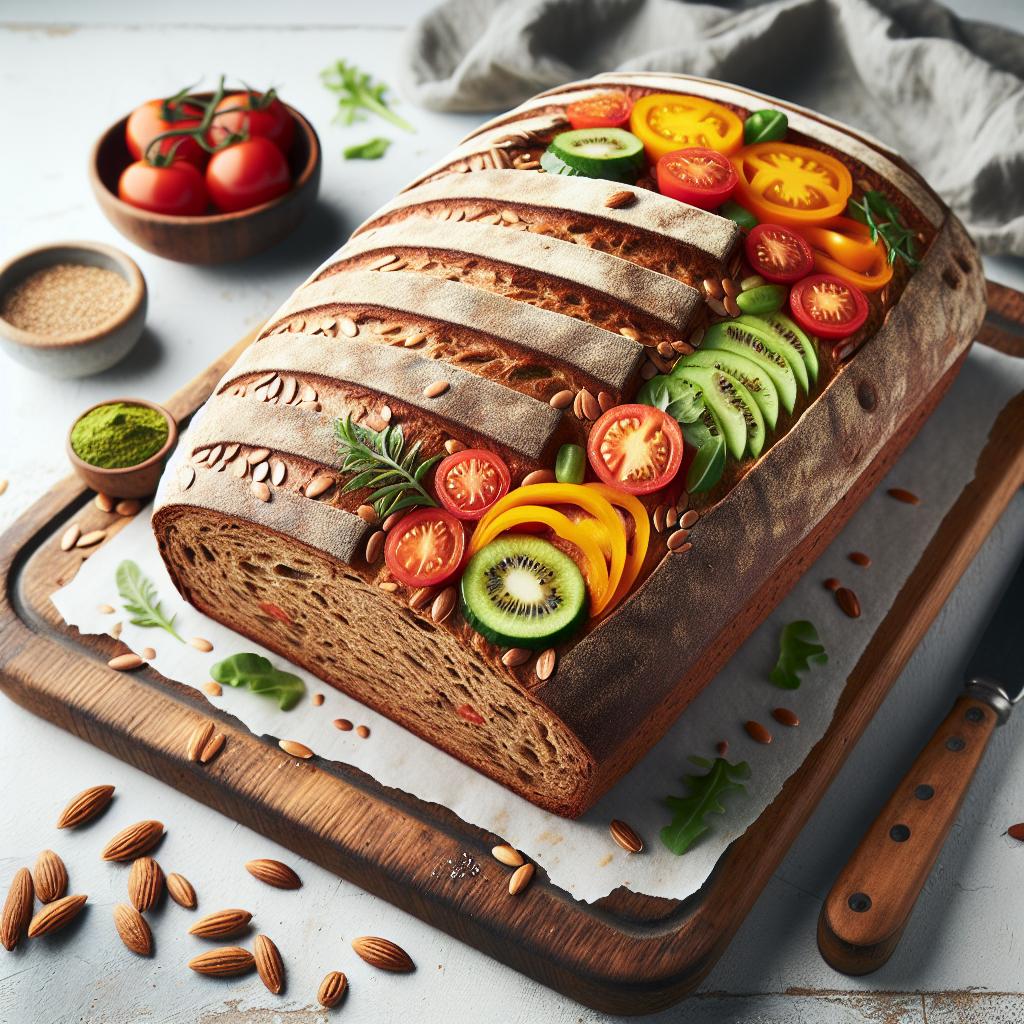


