In a world where convenience often takes center stage, there’s a quiet revolution simmering in kitchens everywhere: the art of crafting tofu at home. Far beyond the pale blocks found in grocery aisles, homemade tofu offers a fresh, customizable, and deeply satisfying experience. Imagine transforming simple soybeans into silky, creamy cubes bursting with purity and potential-ready to be the star of any dish. This step-by-step guide will unravel the ancient secrets and modern tips, inviting you on a hands-on journey to create tofu that not only tastes fresher but also connects you to a timeless tradition of mindful cooking. Whether you are a curious beginner or a seasoned soy enthusiast, get ready to unlock the magic of crafting tofu from scratch, right in your own kitchen.
Selecting the Ideal Soybeans for Silky Smooth Tofu
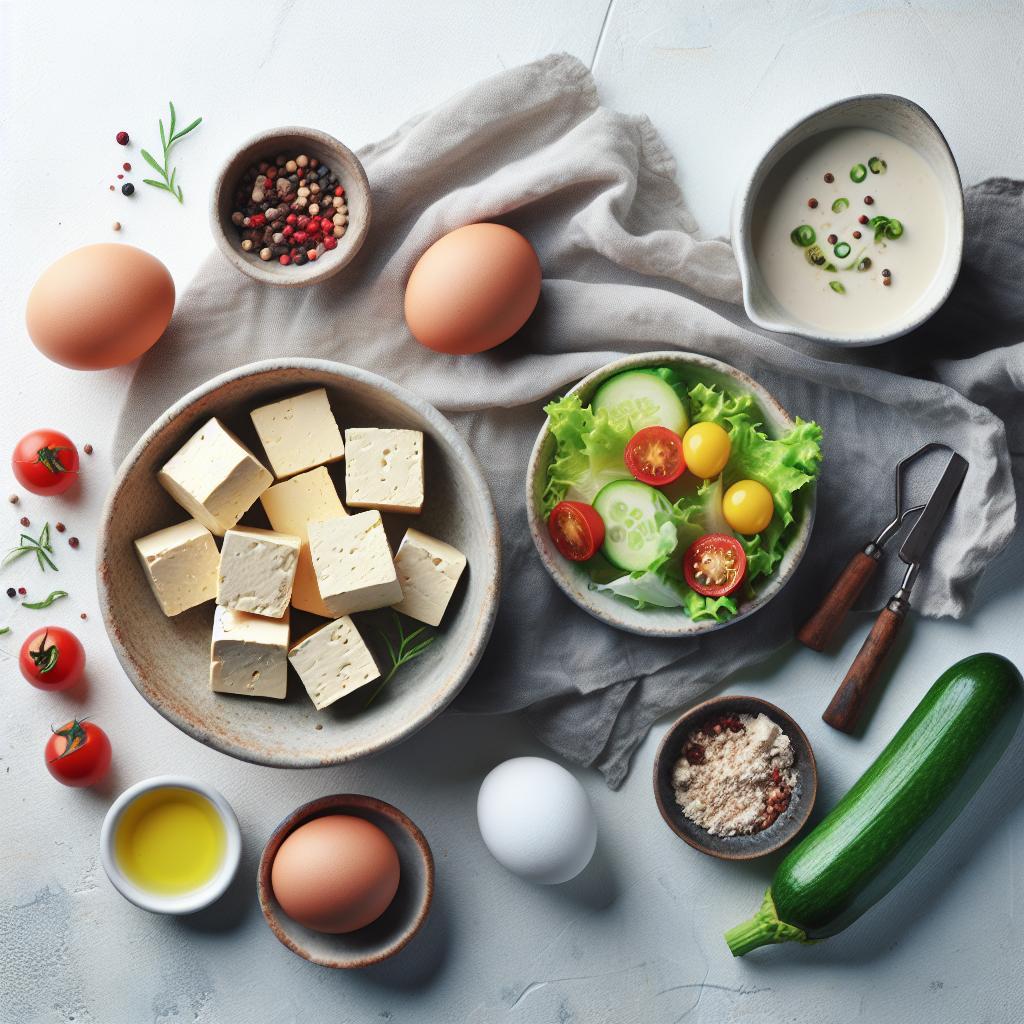
Crafting Tofu at Home: A Step-by-Step Fresh Guide begins with choosing soybeans that will truly elevate the texture and flavor of your homemade tofu. Opt for premium, whole yellow soybeans that are fresh and plump. Organic soybeans are highly recommended to avoid pesticides and maintain purity, and if possible, source them locally or from trusted suppliers to guarantee quality.
The size and freshness of the beans deeply impact the silkiness and creaminess of your final tofu. Larger beans with a light golden hue tend to yield creamier soy milk, essential for that velvety texture everyone loves.
Mastering the Soaking and Grinding Process for Perfect Soy Milk
First, wash 2 cups of soybeans thoroughly to remove any dust or residues. Soak them in plenty of cold water for 8 to 12 hours or overnight until they have swollen to nearly double their size. This hydration step softens the beans, releasing natural sugars that contribute to the tofu’s subtle sweetness.
Drain and rinse your soaked soybeans before grinding. For the grinding process, blend your soybeans with 6 cups of fresh water in a high-speed blender until the mixture turns smooth and creamy. This slurry is the foundation for your rich soy milk and ultimately the tofu’s delicate body.
Essential Techniques for Coagulating and Pressing Tofu at Home
After extracting fresh soy milk by straining through a muslin cloth or fine sieve, gently heat the milk to just under boiling, around 80-90°C (176-194°F). Prepare a coagulant-commonly nigari (magnesium chloride) or gypsum (calcium sulfate)-dissolved in a small amount of warm water.
Slowly add the coagulant to the hot soy milk, stirring lightly but consistently. You’ll begin to see delicate curds forming within minutes. Cover and allow it to rest for around 15-20 minutes, giving the curds time to solidify while retaining moisture for that beautifully smooth texture.
Transfer the curds into a tofu mold lined with cheesecloth and press them gently, applying around 3-5 lbs of weight for 20 to 30 minutes. This controlled pressing ensures a silky yet firm block, perfect for slicing, sautéing, or adding to any dish.
Flavor Infusions and Storage Tips to Elevate Your Homemade Tofu
To customize your tofu, try gently mixing in minced herbs like cilantro or basil into the curds before pressing, or infuse subtle flavors by steeping the soy milk with ginger slices or kelp during the heating phase. These natural infusions bring an extra layer of depth ideal for culinary creativity.
Once pressed, store your tofu submerged in fresh, cold water in an airtight container in the fridge, changing the water daily to maintain freshness for up to one week. To freeze tofu for longer preservation, drain and tightly wrap it to retain texture and flavor integrity.
Prep and Cook Time
- Preparation: 12 hours soaking + 20 minutes pressing
- Active Cook Time: 40 minutes
- Total Time: Approximately 13 hours
Yield
About 400 grams (14 ounces) of fresh tofu – perfect for 2-3 servings depending on your dish.
Difficulty Level
Medium – Requires attention to timing and temperature but yields an immensely rewarding result.
Ingredients
- 2 cups whole yellow soybeans, organic preferred
- 6 cups cold water (for grinding and soaking)
- Coagulant: 2 tsp nigari (magnesium chloride) or gypsum (calcium sulfate), dissolved in 1/4 cup warm water
- Optional for infusion: Fresh ginger slices, dried kelp, or fresh herbs like cilantro or basil
Instructions
- Prepare the soybeans: Rinse and soak your soybeans in 6 cups cold water for at least 8 hours or overnight until they double in size.
- Drain and grind: Drain and rinse the beans. Blend with 6 cups fresh water at high speed until smooth and creamy.
- Extract soy milk: Pour the slurry through a fine muslin cloth or sieve into a pot. Squeeze to extract as much milk as possible. Discard the pulp or reserve for recipes.
- Heat the soy milk: Slowly heat to 85-90°C (185-194°F), stirring gently to prevent sticking or scorching.
- Coagulate: Remove from heat. Add dissolved coagulant by gently stirring for 30 seconds then cover and rest for 15-20 minutes until curds form.
- Mold and press: Line a tofu mold or small colander with cheesecloth. Transfer the curds, fold cloth over, and press with 3-5 lbs weight for 20-30 minutes to form a firm block.
- Unmold and store: Remove tofu from mold. Store submerged in water inside an airtight container in the fridge, changing water daily.
Chef’s Notes
- If your tofu is too crumbly, press less or reduce coagulant slightly for a silkier finish.
- Use fresh, filtered water to ensure clean flavor and pure soy milk.
- Experiment with infusions like kombu seaweed or mushroom broth during the heating phase for umami depth.
- Leftover okara (soy pulp) is excellent in baked goods or as a protein-rich addition to smoothies.
Serving Suggestions
Slice your fresh tofu and garnish with a drizzle of toasted sesame oil, finely chopped scallions, and a sprinkle of toasted sesame seeds. Pan-sear until golden for a crispy yet creamy contrast, or add cubes directly into steaming hot miso soup or vibrant stir-fries. For an elegant touch, serve chilled with a dash of soy sauce and fresh grated ginger as a palate cleanser or appetizer.
| Nutrient | Per 100g Serving |
|---|---|
| Calories | 76 kcal |
| Protein | 8 g |
| Carbohydrates | 2 g |
| Fat | 4.8 g |
Discover more about crafting fresh soymilk at home to complement your tofu journey. For deeper scientific insights into tofu coagulation, visit the ScienceDirect journal on soy protein curd formation.

Q&A
Q&A: Crafting Tofu at Home – A Step-by-Step Fresh Guide
Q1: Why make tofu at home instead of buying it from the store?
A: Homemade tofu offers a freshness and control that store-bought versions can’t match. You get to customize the texture, firmness, and even the flavor, creating a truly personalized culinary canvas. Plus, it’s a rewarding craft that connects you to traditional food-making practices.
Q2: What are the main ingredients needed to make tofu at home?
A: The magic trio is simple: soybeans, water, and a coagulant. Soybeans form the base; water helps extract their creamy essence, and coagulants like nigari, gypsum, or lemon juice help transform that liquid into silky curds.
Q3: How do you turn soybeans into soy milk?
A: Soak your soybeans overnight to soften them, then blend them with water until smooth. Strain this blend through a fine cloth to separate the milk from the pulp (okara). The soy milk is the foundation for your tofu masterpiece.
Q4: What’s the secret to achieving the perfect tofu texture?
A: It’s all about balance-coagulant type, amount, and timing matter. Gentle stirring when adding coagulant encourages delicate curds, while pressing time influences firmness. Experimentation is the key to discovering your tofu nirvana.
Q5: How long does the entire tofu-making process take?
A: From bean soaking to pressing, expect around 8 to 12 hours. Most of this is passive soaking or waiting time, making it perfect for a patient cook who enjoys a culinary slow dance.
Q6: Can you flavor homemade tofu during the process?
A: Absolutely! Adding herbs, spices, or even vegetable juices to the soy milk before coagulating can infuse subtle notes. Tofu is a blank slate thirsty for culinary creativity.
Q7: What are some tips for storing homemade tofu?
A: Keep your tofu submerged in fresh water in the fridge and change the water daily to maintain its creamy freshness. It’s best enjoyed within a week but can also be frozen for a firmer texture and longer shelf life.
Q8: Is homemade tofu healthier than store-bought?
A: Homemade tofu is often fresher with no preservatives or additives, giving you pure plant power. You control the salt and additives, making it a heart-healthy, clean choice.
Q9: What can I do with the leftover soy pulp (okara)?
A: Don’t toss it! Okara is nutrient-rich and versatile-blend it into smoothies, bake it into breads, or stir it into veggie patties. It’s a delicious way to honor the whole bean.
Q10: Where can beginners find reliable recipes and supplies?
A: Start with trusted tofu-making guides online, tofu-making kits from specialty stores, and natural food shops for coagulants. Join tofu-making communities and forums for tips, troubleshooting, and inspiration.
Crafting tofu at home transforms a humble bean into a silky treasure that’s as satisfying to make as it is to savor. Ready to dive into this ancient art with a fresh twist? Your homemade tofu adventure awaits!
Insights and Conclusions
Creating tofu at home is more than just a culinary project-it’s a journey into the heart of plant-based tradition and creativity. By mastering each step, from soaking the soybeans to pressing the final block, you unlock a world of fresh, wholesome flavors that store-bought varieties simply can’t match. Whether you seek a protein-packed staple or a blank canvas for your favorite dishes, homemade tofu offers endless possibilities. So roll up your sleeves, embrace the process, and savor the satisfaction that comes from crafting this versatile ingredient with your own hands. Your kitchen-and your taste buds-will thank you.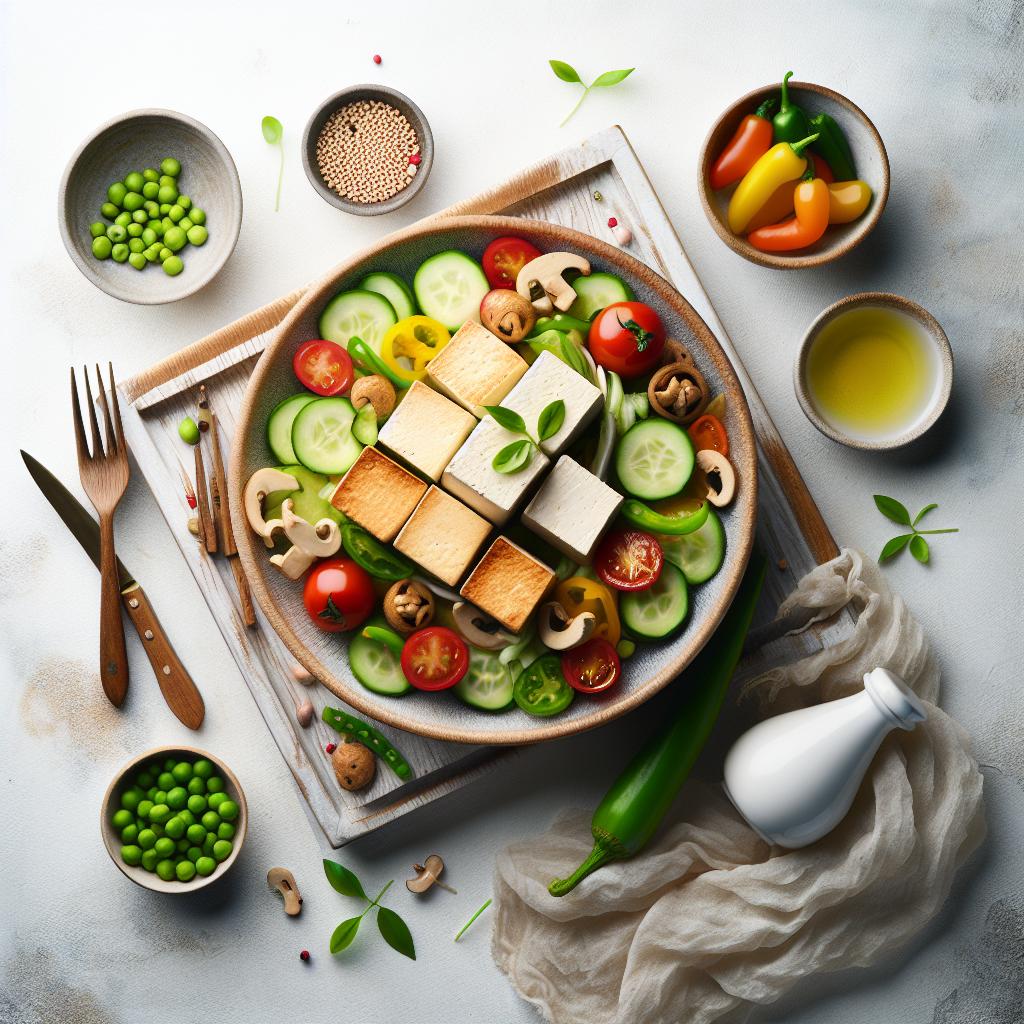


